1. Introduction
Webex Teams is an application from Cisco for continuous team collaboration with video meetings, group messaging and file sharing. Topics or teams are organized in so-called spaces. You can also use such a space to receive notifications from Checkmk. For the actual connection a webhook must be created in Webex Teams.
2. Configuring Cisco Webex Teams
The prerequisite for receiving notifications from Checkmk in Webex Teams is therefore that at least one area (space) is set up. This can be done in a few seconds and is described in the Webex help: Webex App - Create a space
For a first test, at any rate it is certainly a good idea to set up a dedicated area with an appropriate name just for Checkmk.
In Webex Teams the Incoming Webhooks app must now be activated or connected. You can find this app in the Webex App Hub.
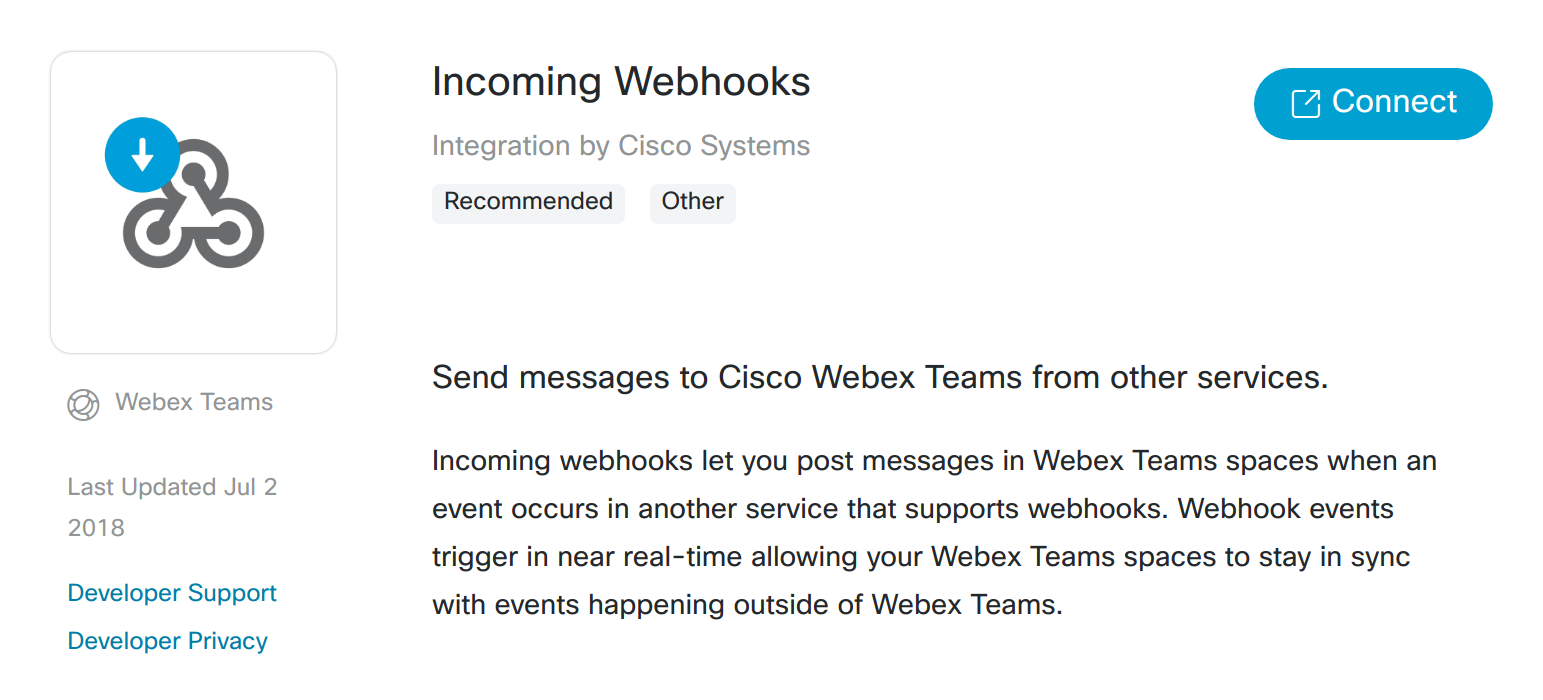
Click on Connect on this page. (If you are not logged into Webex Teams with the browser you are using, the Cisco Webex login dialog will appear first.)
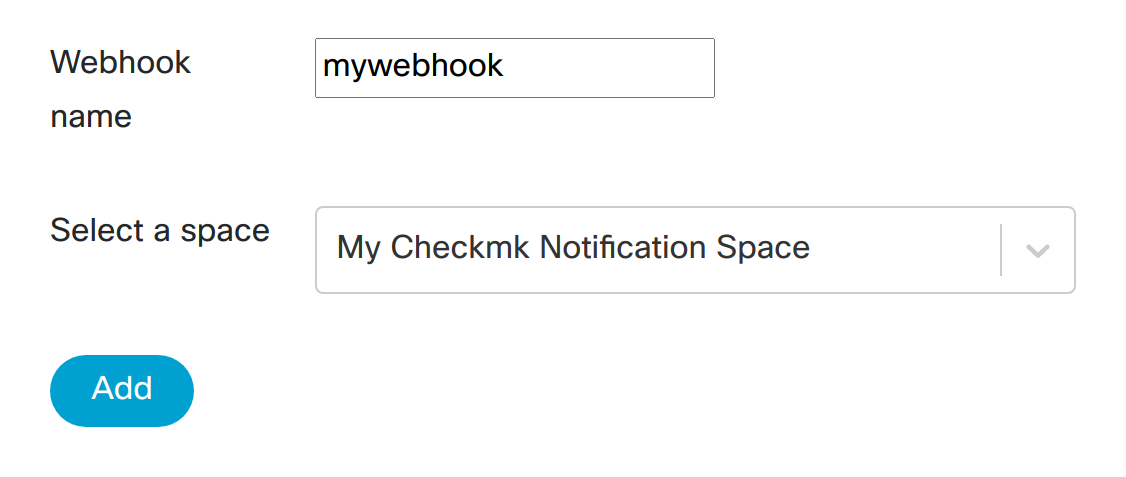
After a short waiting period, at first it looks as if not much has changed — but now, at the end of the input and selection fields, you can specify both a name for the webhook and the area to be used in Webex Teams. Finally click on Add.
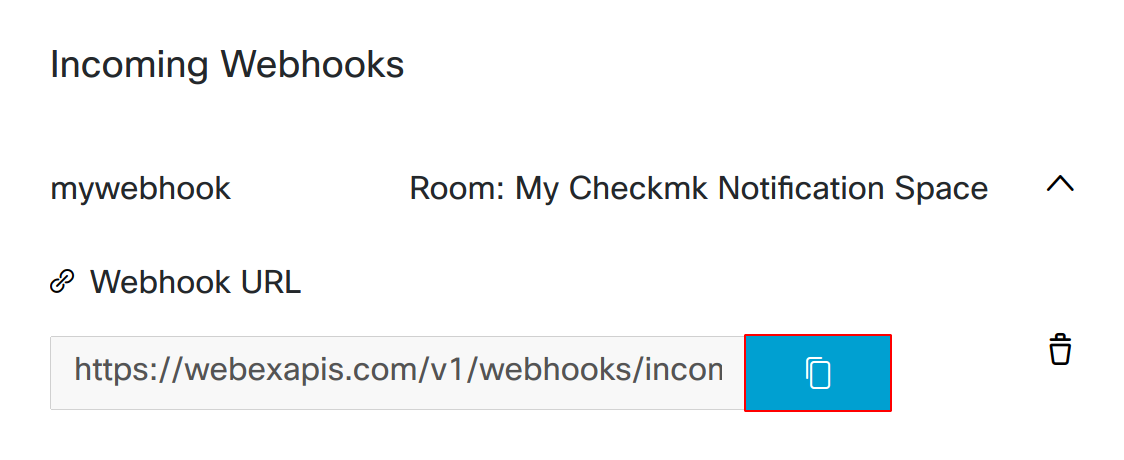
Next, copy the webhook URL created in this way by clicking on the corresponding icon:
3. Configuring Checkmk
You have already learned how to set up Checkmk notifications in general in the article on notifications.
In Checkmk it is now sufficient to specify the webhook URL copied above:
Create new parameters for Webex Teams with Setup > Events > Notifications > Parameters for notification methods > Parameters for Cisco Webex Teams > Add parameter.
-
Enter the copied webhook URL:
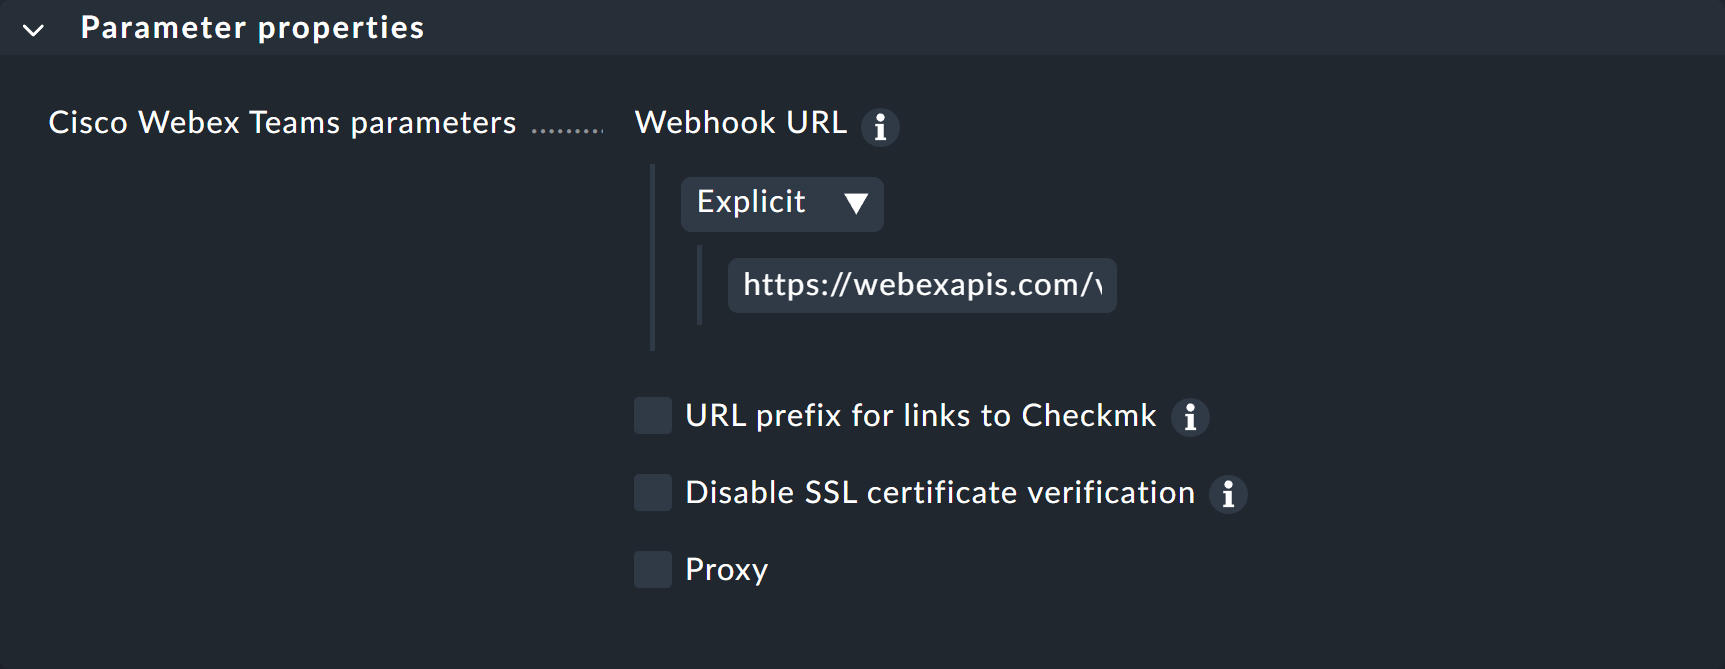
Instead of entering the URL directly here, you can also read it from the password store - provided it was previously stored there.
Optionally, you may specify URL prefixes to control links on your Checkmk GUI within the notification.
You can find out how to test the new notification method in the article on notification rules.