1. Introduction
The PagerDuty incident management platform can receive messages from a wide variety of sources and process them further — for example by filtering, sending notifications or initiating escalations. Notifications from Checkmk can be forwarded to the platform via a key.
2. Configuring PagerDuty
PagerDuty provides integrations for many popular tools, including Checkmk. All you need is an integration key, which you create under PagerDuty as follows:
Create a new service or open an existing one.
In the corresponding service create a new integration via the Integrations tab.
Assign any name and for the Integration Type choose Check_MK.
Copy the created Integration Key.
3. Configuring Checkmk
You have already learned how to set up Checkmk notifications in general in the article on notifications.
In Checkmk it is now sufficient to specify the key copied above:
Create new parameters for PagerDuty with Setup > Events > Notifications > Parameters for notification methods > Parameters for PagerDuty > Add parameter.
-
Enter the copied key under PagerDuty Service Integration Key:
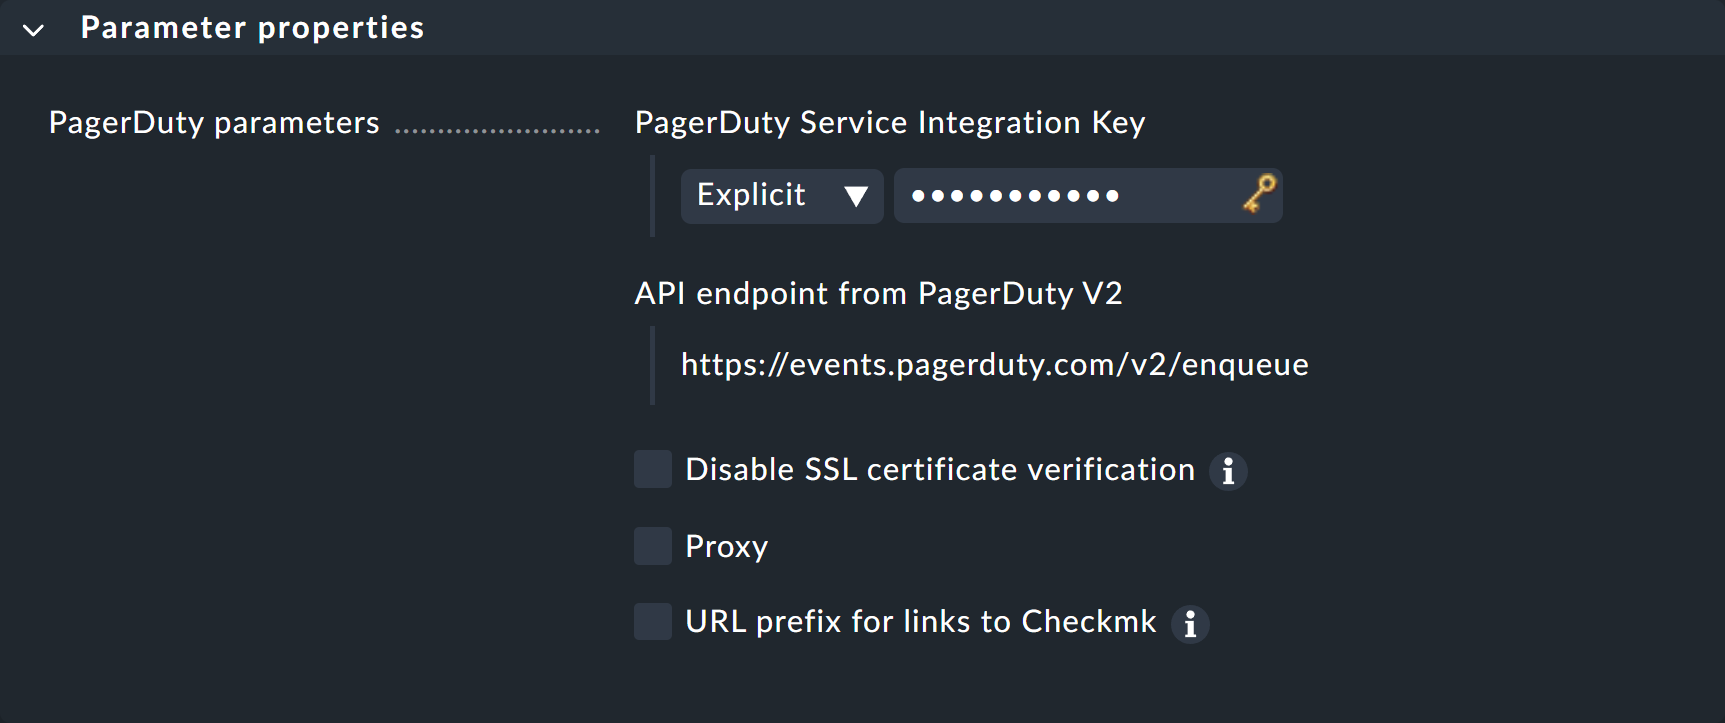
Instead of entering the key directly here, you can also read it from the password store - provided it was previously stored there.
The filtering of the generated notifications can be implemented either in Checkmk, or in PagerDuty via the Event Rules. You can also optionally switch the PagerDuty connection to your own Checkmk user account. Simply create a standard user with a disabled login, and then create a personal notification rule.
You can find out how to test the new notification method in the article on notification rules.