1. Introduction
Checkmk has a highly modular design and it can be extended in many ways using Python programming skills. To manage these extensions effectively, share them within distributed environments, and make them available to other users, Checkmk provides its own package format: the Checkmk extension package—or MKP for short.
An MKP can contain any number of extensions—for example, a set of check plug-ins including associated manual pages, the configuration environment for thresholds, and related metric definitions. It can also contain settings for distributing agent plug-ins via the Agent Bakery.
In this article, you will learn how to install and manage extensions, as well as how to ensure that updates run smoothly even in distributed environments. For extension developers, we have created a separate article dedicated to modifying and packaging extensions.
1.1. The Checkmk Exchange
On the Checkmk Exchange, programmers of plug-ins can provide packages for other Checkmk users and share these amongst themselves. From the Exchange you can download and use extensions for free. Please note that packages from the Exchange are shared voluntarily by other users and are without any warranty.
Improperly programmed plug-ins can lead to increased CPU/system loads and memory requirements. In addition, it is possible that an MKP was developed for older versions of Checkmk and thus may not be fully compatible with a version currently in use (e.g., with the update from version 1.6.0 to version 2.0.0 Checkmk changed from Python 2 to Python 3). In extreme cases there can be a risk of data corruption and loss. We therefore strongly recommend that before using third-party MKPs in a production environment, they should first be installed and tried on a test site.
1.2. Tools for MKPs
There are two tools for managing MKPs:
The
mkpcommandIn the Setup menu, the Extension Packages item (commercial editions only)
We will now introduce both of these management tools in more detail. These are compatible with each other so that you can use both the command and Extension Packages without 'messing anything up'.
2. Managing extension packages via the Setup Menu
![]() The facility to manage MKPs via the GUI exists exclusively in the commercial editions of Checkmk.
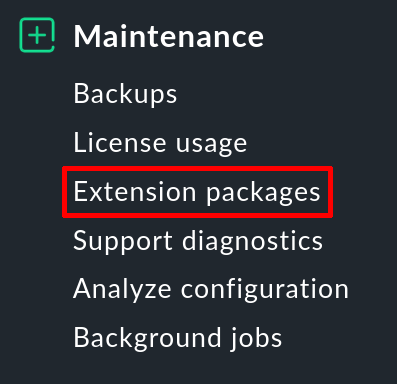
In the Setup menu you enter the administration of MKPs via Setup > Maintenance > Extension packages.
Here you can install, modify or create MKPs:
The facility to manage MKPs via the GUI exists exclusively in the commercial editions of Checkmk.
In the Setup menu you enter the administration of MKPs via Setup > Maintenance > Extension packages.
Here you can install, modify or create MKPs:
Outdated MKPs can only be installed via the command line. From the Extension packages, you can only install (enable and activate) MKPs that meet the version requirements. Other MKPs will be enabled but not installed (a corresponding error message will be displayed). |
2.1. Adding an MKP
An MKP that you have downloaded from the Exchange, for example, can be uploaded to Checkmk by clicking the Upload package button and it will then be made available for installation.
To do this, the file must be present on the machine that is also running your web browser.
The file name of the package must include the .mkp extension.

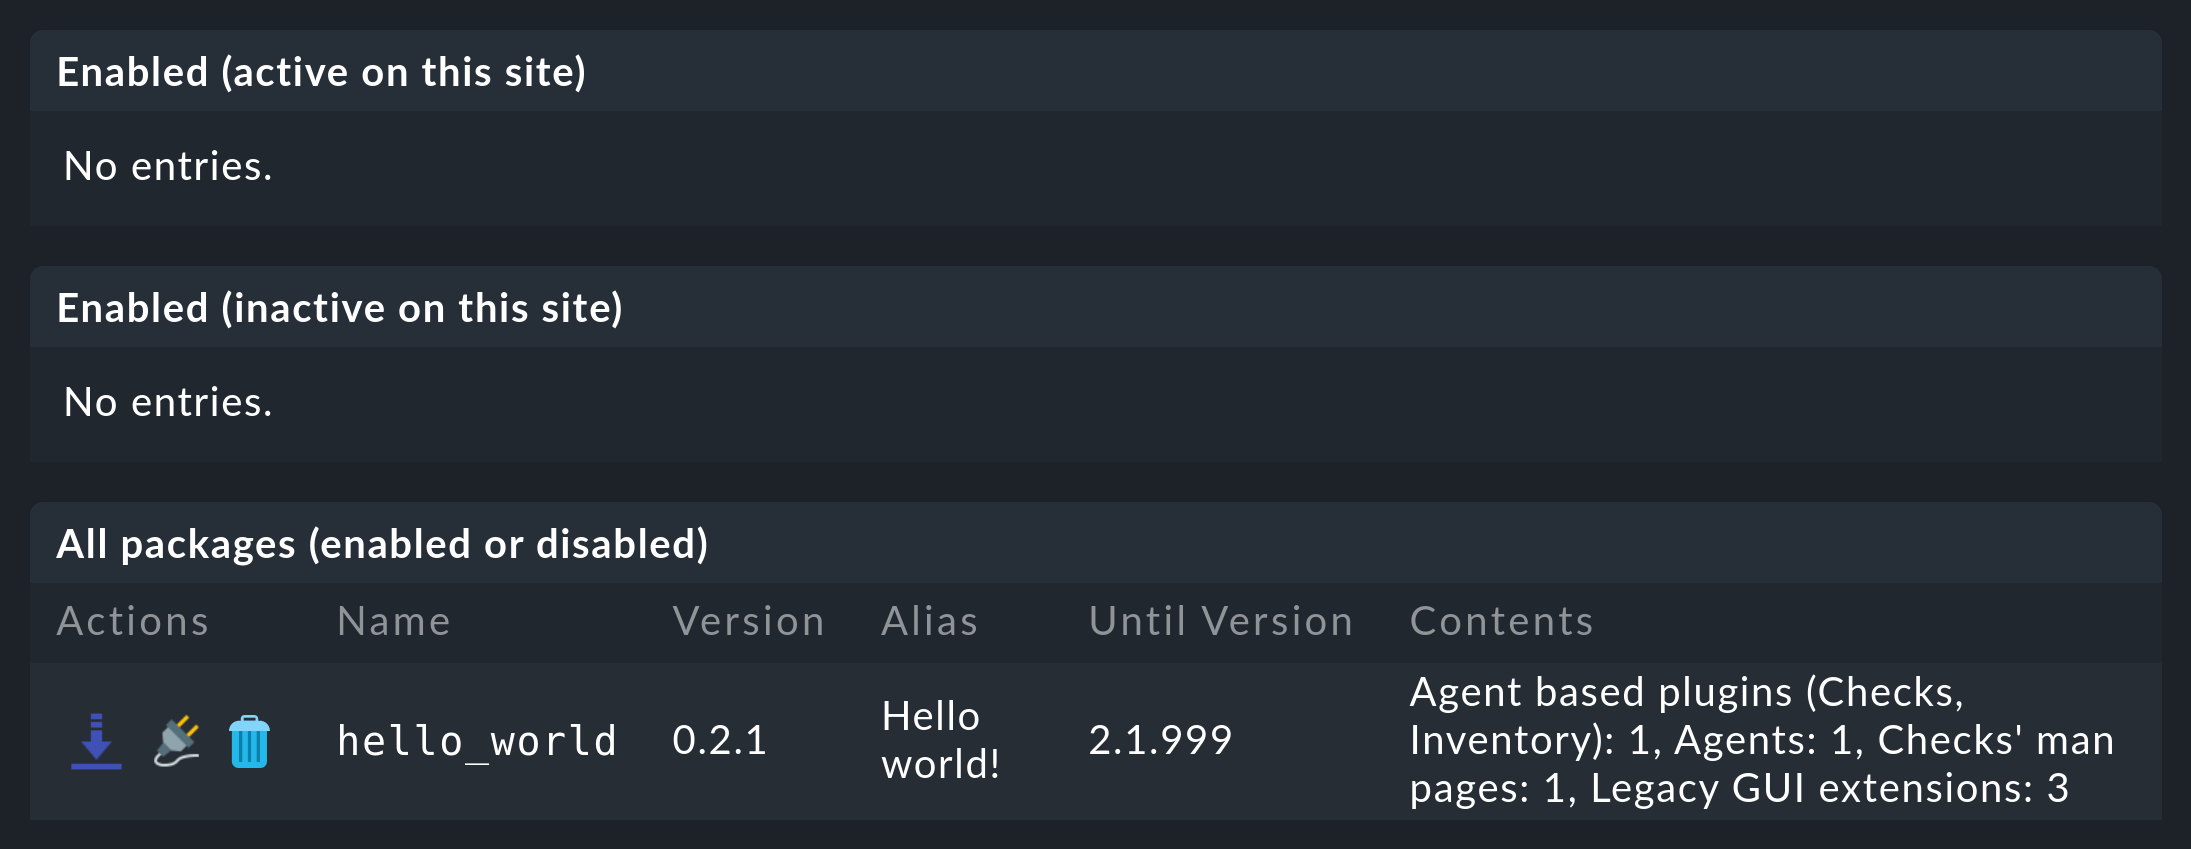
Following an installation, the extension package is initially available, but not active. It is located under All packages (enabled or disabled):
2.2. Activating an MKP
Only with a click on the 'plug' button ![]() will an available package also be activated.
During activation, the files are installed in a folder hierarchy under
will an available package also be activated.
During activation, the files are installed in a folder hierarchy under ~/local/.
The package description file is also placed in ~/var/check_mk/packages/.
After activation, the package will also appear in the list of enabled and active MKPs—Enabled (active on this site):

Now perform an activation of changes, after which all functions from the package will be anchored in the system and ready for use.
2.3. Deactivating and removing packages
The complete deletion of a package is also done in two stages.
With the ![]() button you first deactivate a package in the list of active packages.
In this step the installed files are removed, but the MKP is still kept—this step only reverses the activation.
button you first deactivate a package in the list of active packages.
In this step the installed files are removed, but the MKP is still kept—this step only reverses the activation.
Using the ![]() button in the list of all packages, you can again selectively delete installed and unused packages.
When deleting, the package is deleted and with it the extension is completely removed—i.e. the opposite of adding a package.
button in the list of all packages, you can again selectively delete installed and unused packages.
When deleting, the package is deleted and with it the extension is completely removed—i.e. the opposite of adding a package.
2.4. MKPs in distributed environments
In the case of a distributed monitoring with a central setup, it is sufficient to make the packages available on the central site.
For each remote site associated with the central site, you can then separately determine whether the customizations should be propagated to that remote site.
All you have to do is activate the Replicate extensions option.
After that, the MKPs and all other changes within the ~/local directory will also be transferred during a synchronization.
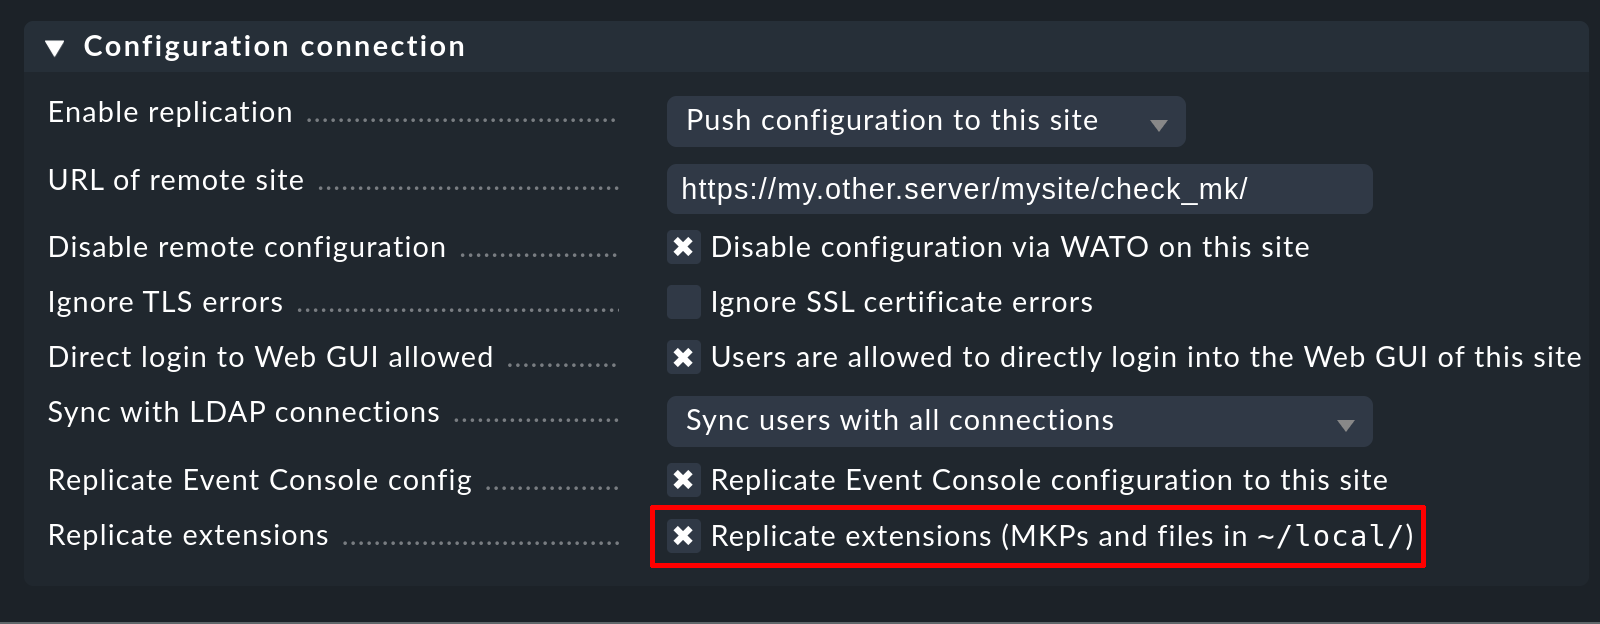
If a particular transfer is not desired, simply turn off the option for this or all sites.
Important: The customizations for the central setup will only be transferred if the Enable replication option is set to Push configuration to this site.
2.5. A special case: enabled but inactive packages
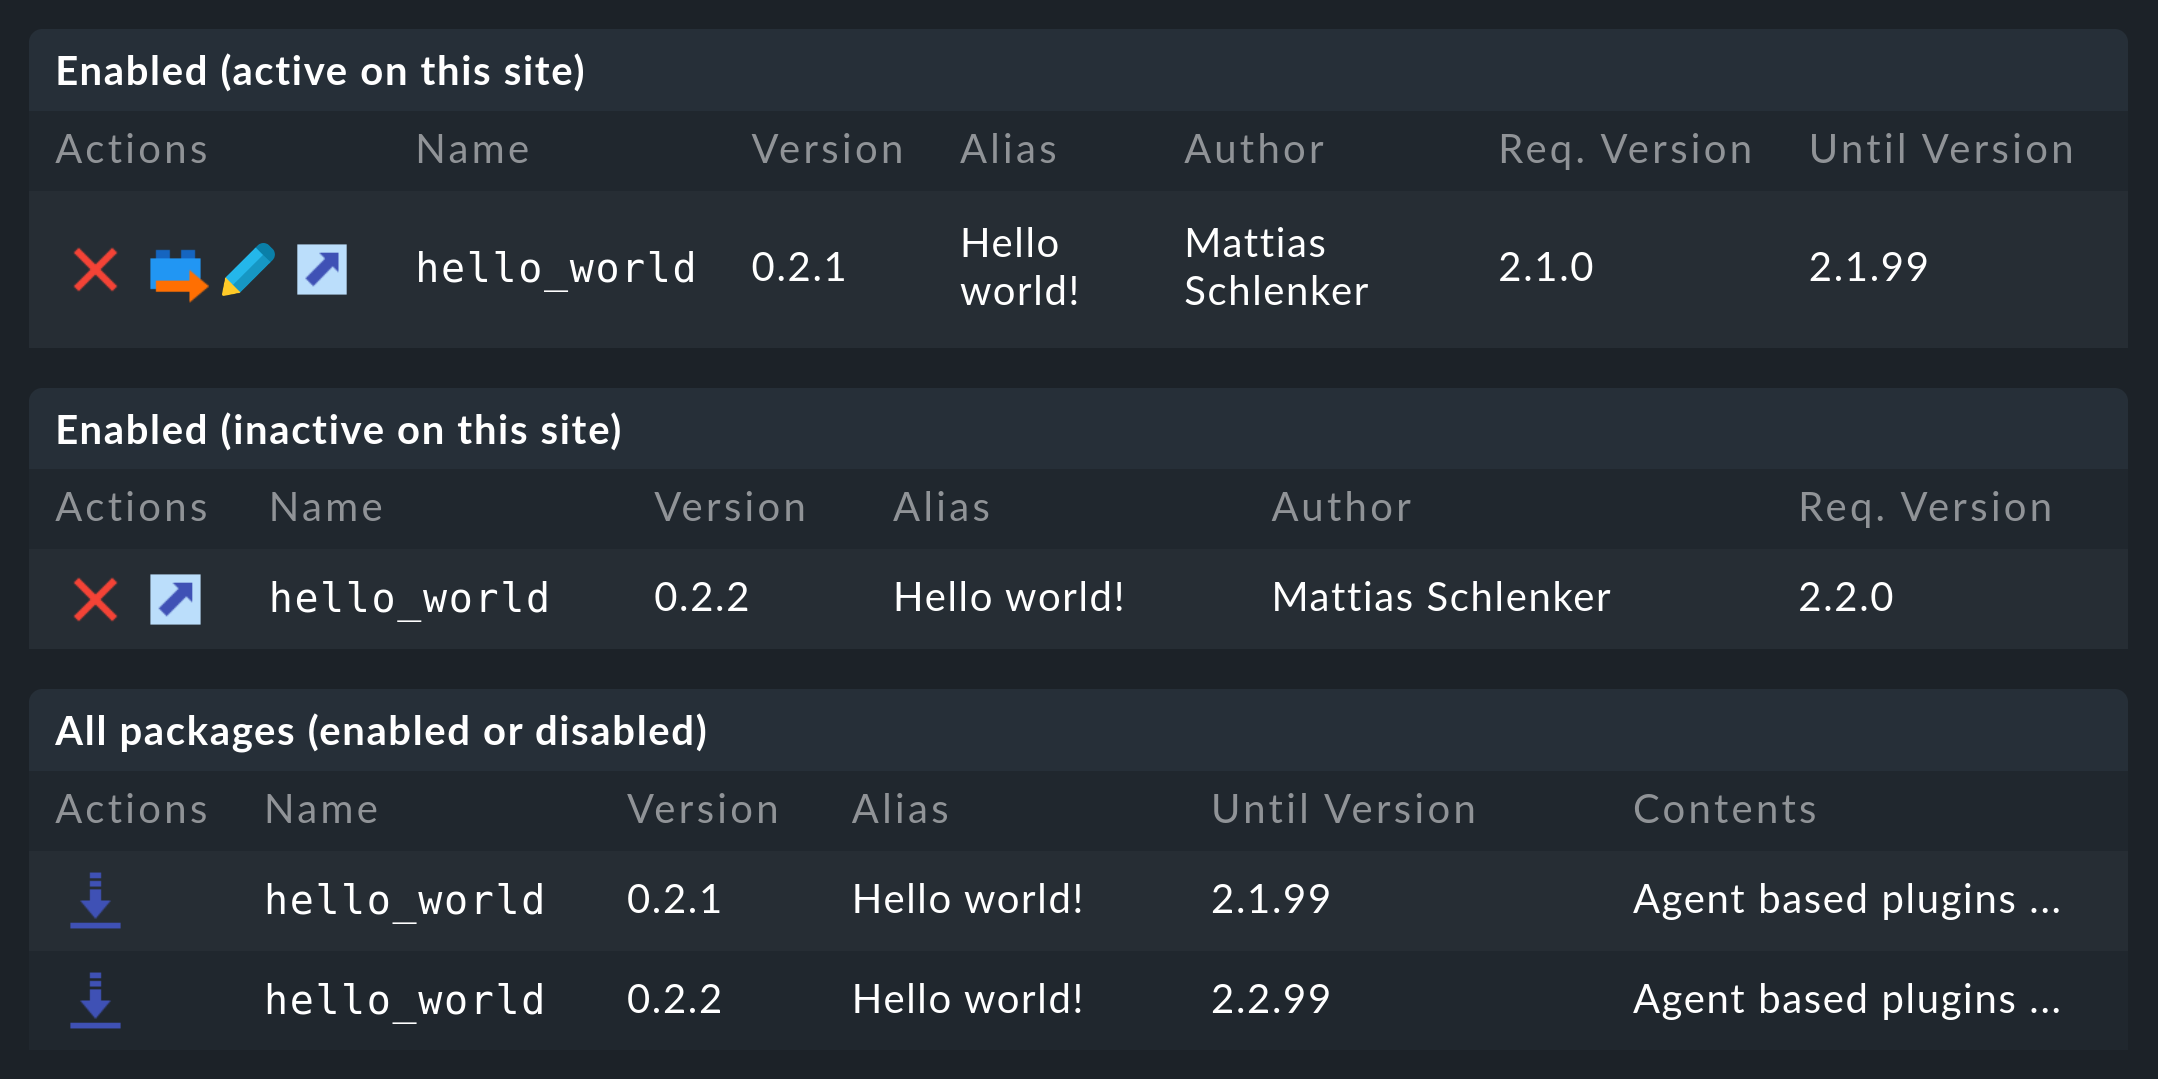
A special situation is the attempted activation of a package that does not match the Checkmk version in use. Such a package that is enabled, but whose activation fails because of an incompatible Checkmk version, will end up in the Enabled (inactive on this site) list.
But why install packages that do not match the Checkmk version you are using? There are two good possible reasons:
An update of the Checkmk version: You have the possibility of storing packages for both the old and the new versions—when you next perform an update, the newer package will be activated automatically.
Distributed monitoring: To facilitate updates, the Checkmk major version of remote sites may be one higher than that of the central site. However, this previously made it difficult to distribute MKPs because these had to be compatible with both major versions. With the ability to unlock mismatched packages, you can keep packages on the central site that match both the source and target versions. The newer version will then be automatically activated during an update.
From the version numbers shown in the above screenshot, you can see that it is a Checkmk 2.1.0 central site that provides packages for remote sites that have already been upgraded to 2.2.0.
3. Managing extension packages via the command line
You can also perform all of the above actions on the command line.
The mkp command is used for this purpose.
If you call it without a subcommand, it shows hints on how to use it.
For clarity, here we have abbreviated the output, which is about 50 lines long, to less than half:
In the following sections, we will present the most important commands for managing MKPs. A useful command reference can be found as a table at the end of this article.
3.1. Adding an MKP
Adding a package is performed with mkp add.
To do this, of course, you must first bring the MKP file to the Checkmk server (e.g., with scp).
Then run the following command:
You request a list of the available packages with mkp list.
Following an installation, the extension package is initially available, but not active--in the list it will have the Disabled state:
3.2. Activating an MKP
Only with the enable subcommand will an available package also be activated.
Specifying the version number is only required in the event that the name alone is not unique:
In principle, you can only activate MKPs that match the version of your Checkmk installation, even on the command line.
If you want to bypass the version restrictions and install (enable and activate) the MKP under all conditions, use --force-install.
This is primarily relevant for developers who need to gradually adapt packages to new Checkmk versions in distributed environments.
Once activated—regardless of whether force-install is used—the files are installed in a directory hierarchy within ~/local/ and the package description file is placed in ~/var/check_mk/packages/.
This results in the package getting the Enabled (active on this site) state:
Details on an individual package can be obtained with mkp show, its actual activation status does not matter:
3.3. Deactivating and removing packages
Uninstalling a package is done in two stages.
First, the package is disabled with mkp disable.
This deletes installed files, but still keeps the package—for a possible later reactivation, for example.
Again, specifying the version number is only necessary in the event that the package’s name alone is not unique:
In the package list you will now see the Disabled state when you call mkp list again:
Only mkp remove will delete the package irrevocably:
3.4. A special case: enabled but inactive packages
A special situation is when a package is installed that does not match the Checkmk version being used:
You can activate such a package, but the activation will fail because of the incompatible Checkmk version, and the package will get the Enabled (inactive on this site) state.
We explained the possible circumstances for choosing to install incompatible packages—i.e. with updates in distributed environments—earlier above in the corresponding Setup section.
Similarly to the Setup procedure, use mkp enable packagename version to enable a package, or mkp disable packagename version to disable an existing enable.
4. Command reference
Commands for modifying and creating packages can be found in the article MKPs for developers.
4.1. Management
| Subcommand | Parameter | Function |
|---|---|---|
|
File name of the package to be added |
Makes a package available, but does not activate it yet. |
|
Name of the package (and version number, if applicable) |
Activates a package for local use or for distribution to remote sites, depending on version compatibility. |
|
Name of the package (and version number, if applicable) |
Activates a package even if there is no version compatibility. |
|
Name of the package and version number |
Disables a package, which remains available in the file system. |
|
Package name and version number |
Removes a previously disabled package completely. |
|
File name of the package to add |
This subcommand is deprecated and will be removed soon! |
|
none |
Lists all available packages and their activation state. |
|
File name of the package to inspect |
Shows information about an uninstalled MKP. |
|
Name of the package (and version number if applicable) |
Displays information about an available MKP. |
|
none |
Displays information about all available MKPs. |
|
Package name (and version number if applicable) |
Lists all files belonging to a package. |
4.2. Updates
| Subcommand | Parameter | Function |
|---|---|---|
|
none |
Disables packages that no longer match the Checkmk version after an update. |
|
none |
Activate packages matching the Checkmk version after an update. |