1. Introduction
Teams is Microsoft’s chat and video conferencing solution. In the business variant, you can create channels for your teams and receive notifications from Checkmk in these. The connection to Teams is made via a webhook. The Teams API has some limitations, find out more at Microsoft.
2. Configuring Microsoft Teams
In Teams you need to create a workflow for a webhook request:
Enter the desired channel.
In the menu bar of this channel, open the three dots menu and select
Workflows.Search for
Post to a channel when a webhook request is receivedand open the workflow.Next, you need to give this workflow a name.
Finally, select the chat to which you want to post.
On the next page you should see the URL of the new webhook. Copy this URL so that you can paste it into Checkmk in the next step.
The description above is somewhat vague. This is due to the fact, that the actual way you have to click, might differ in your particular version of MS Teams. Whenever major changes occur, we try to update the information in a timely fashion.
3. Configuring Checkmk
You have already learned how to set up Checkmk notifications in general in the article on notifications.
In Checkmk it is now sufficient to specify the URL copied above:
Create new parameters for Microsoft Teams with Setup > Events > Notifications > Parameters for notification methods > Parameters for Microsoft Teams > Add parameter.
-
Enter the copied URL under Webhook URL:
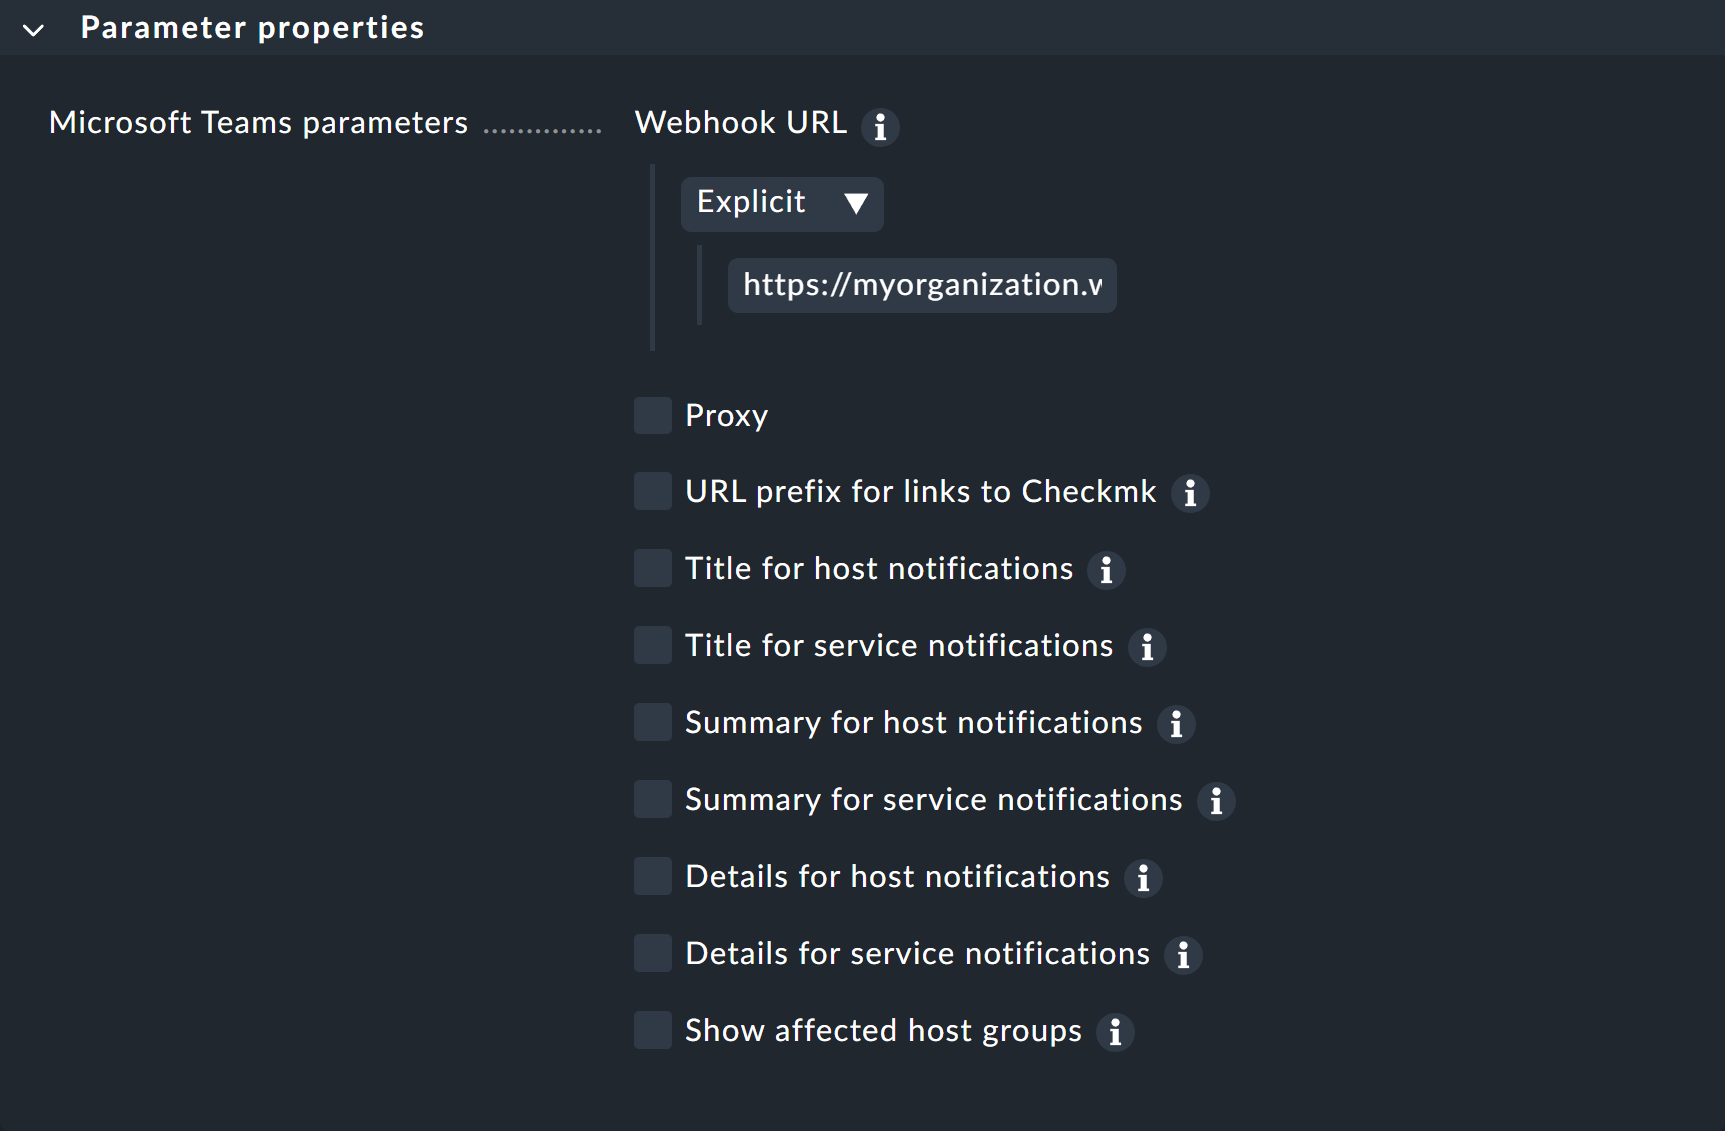
Instead of entering the URL directly here, you can also read it from the password store - provided it was previously stored there.
You can find out how to test the new notification method in the article on notification rules.