1. Introduction
The incident management platform Splunk On-Call handles the distribution of messages from dozens of different sources, which can be selected as integrations directly in the web interface. A generic REST API backend is available for Checkmk.
2. Configuring Splunk On-Call
You do not need to explicitly activate the notifications from Checkmk, only the REST API endpoint address:
In Splunk On-Call under Integrations, call the REST Generic item.
Copy the displayed REST API endpoint URL.
3. Configuring Checkmk
You have already learned how to set up Checkmk notifications in general in the article on notifications.
In Checkmk it is now sufficient to specify the URL copied above:
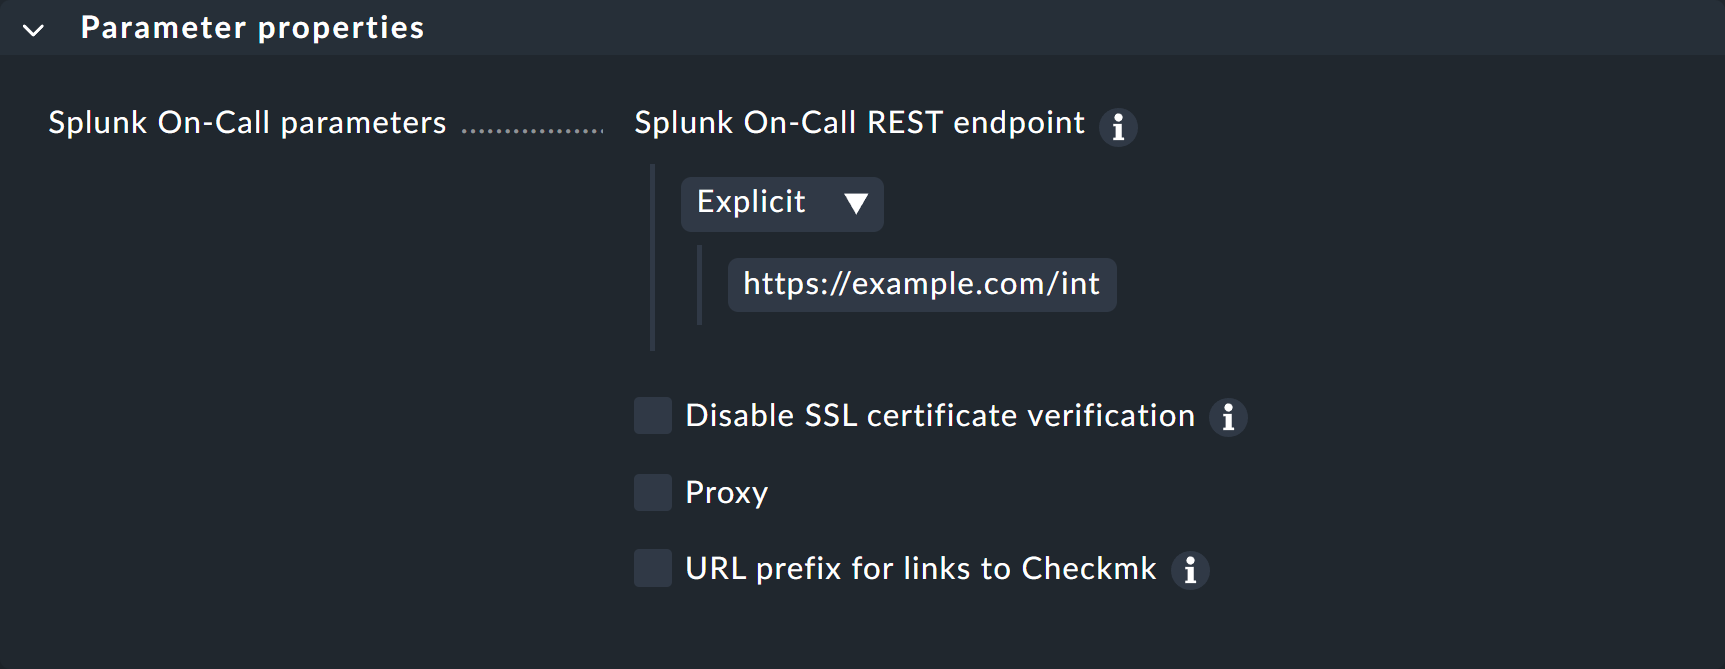
Create new parameters for Splunk On-Call with Setup > Events > Notifications > Parameters for notification methods > Parameters for Splunk On-Call > Add parameter.
-
Enter the copied URL under Splunk On-Call REST endpoint:
Instead of entering the URL directly here, you can also read it from the password store — provided it was previously stored there.
Optionally, you may specify URL prefixes to control links on your Checkmk GUI within the notification.
You can find out how to test the new notification method in the article on notification rules.