1. Function
The connection of ServiceNow is only available for the Enterprise Editions.
The ServiceNow platform allows the mapping and automation of various workflows (keyword ITIL), including the forwarding of Checkmk notifications to users.
The integration runs using the site’s URL and login data.
2. Configuring ServiceNow
A special configuration within ServiceNow is not required, only the site URL (possibly in the form of a custom URL) and user data must be known. The user must have the role itil in ServiceNow.
3. Configuration in Checkmk
You have already learned how to set up Checkmk notifications in general in the article on notifications. To connect ServiceNow, now proceed as follows in Checkmk:
For the Notification Method choose Servicenow (Enterprise only).
For the ServiceNow URL enter your site URL.
Add the user name and password of the creating user.
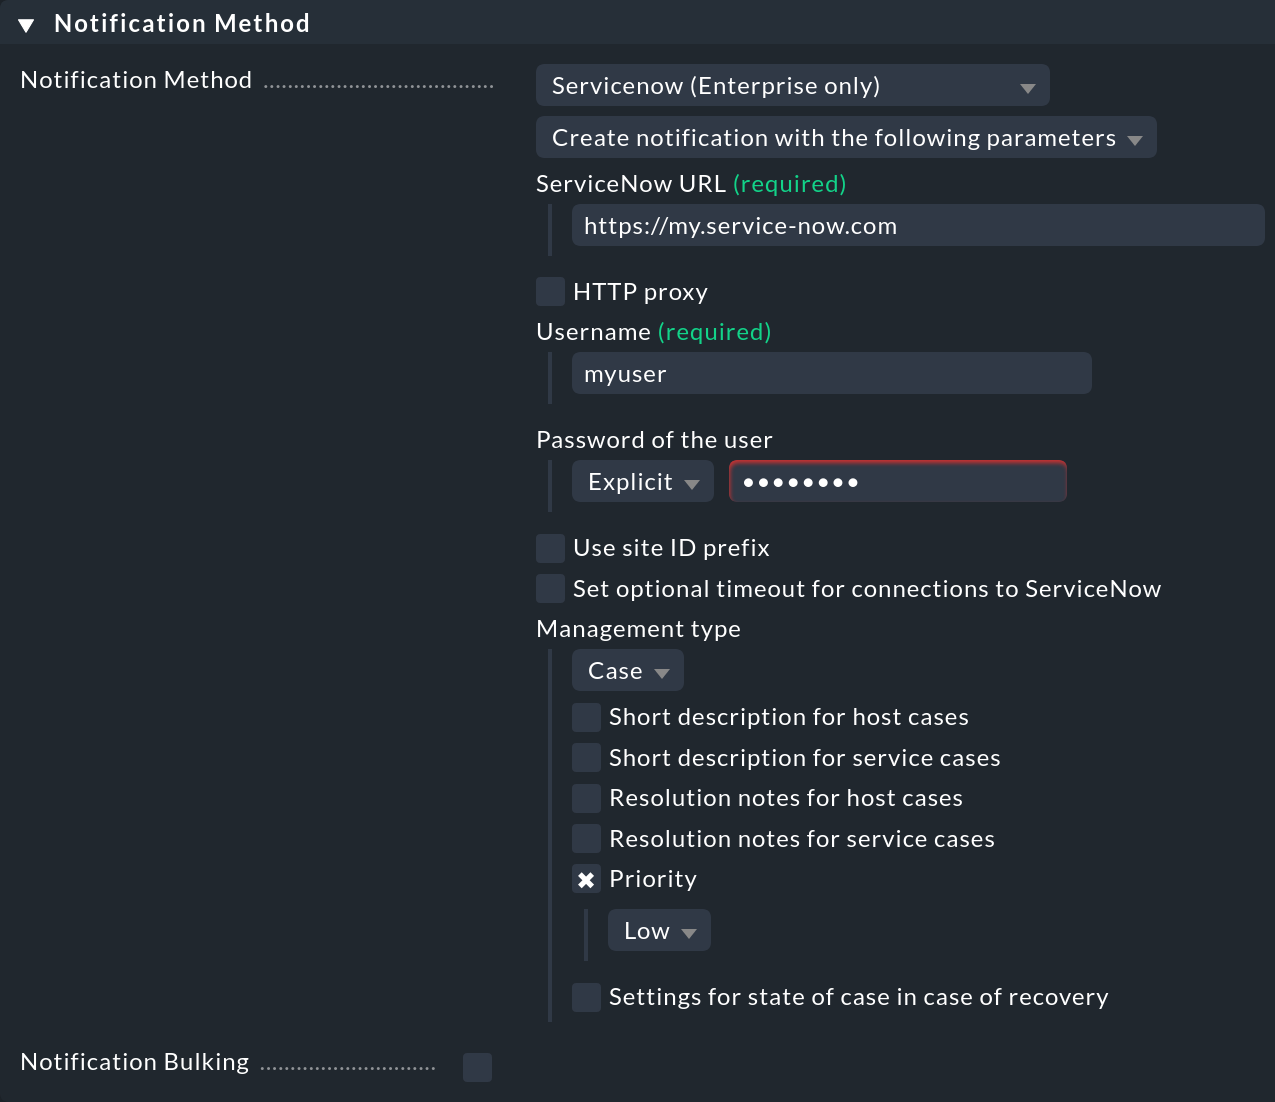
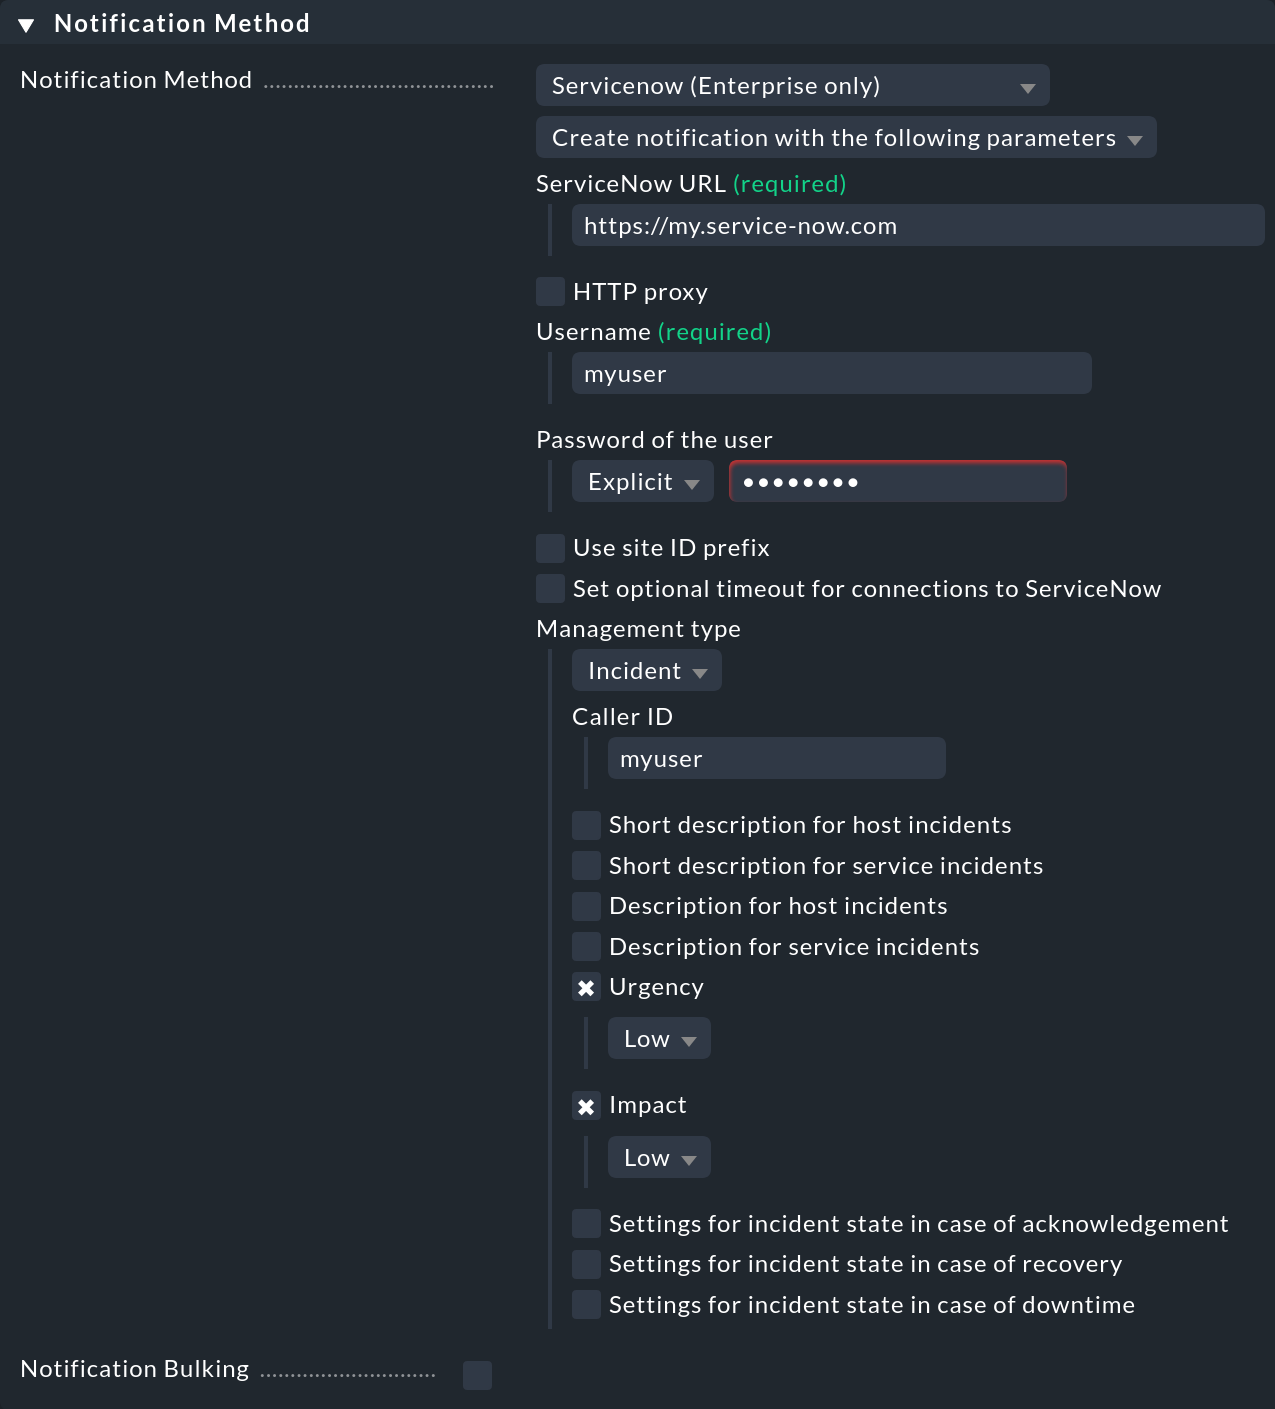
Select the Management type: ServiceNow has two types, case and incident. Depending on your selection, the options displayed below will change. Each of the options offered in Checkmk, both for the case type and the incident type corresponds to the setting of the same name in ServiceNow.
3.1. Setting up the Case management type
If you have selected Case, you can set various other options to shape the content of the notification.

3.2. Setting up the Incident management type
If you have selected Incident, there are a couple of notable specifics on how a notification is laid out.

Under Caller ID add the user name of the concerned user. It is recommended to use the same user name for both the creating and the receiving user. See the Checkmk inline help for more detailed information.
Again, all other options are used to define the content of the notification.
For the two ServiceNow-specific options Urgency and Impact, in the Checkmk inline help you can find links to the respective entries in the ServiceNow documentation.
3.3. Testing the notifications
For testing you can use the Fake check results and Custom notification commands.
