1. Function
Opsgenie, now a part of Atlassian, as an incident management platform provides alerting and escalation for support teams, and can integrate many external tools, including Checkmk. The basic connection requires only an API key and a URL, but you can also specify other options in Checkmk, such as additional information depending on the notification’s source type.
2. Configuring Opsgenie
You can find a short guide on how to integrate Checkmk directly within Opsgenie — but this is based on an older Checkmk version where you had to pass a complete URL including API key. In current versions, you enter the URL and key separately. In addition, the URL is only required for accounts hosted in Europe.
Create a team or call up an existing one.
Choose the entry Checkmk under Integrations/Add Integration.
In the displayed — incorrect — instructions you will find a URL under Paste, including options and API key. Copy the domain part of the URL (
https://api.eu.opsgenie.com).Next copy the API key and save the integration.
3. Configuration in Checkmk
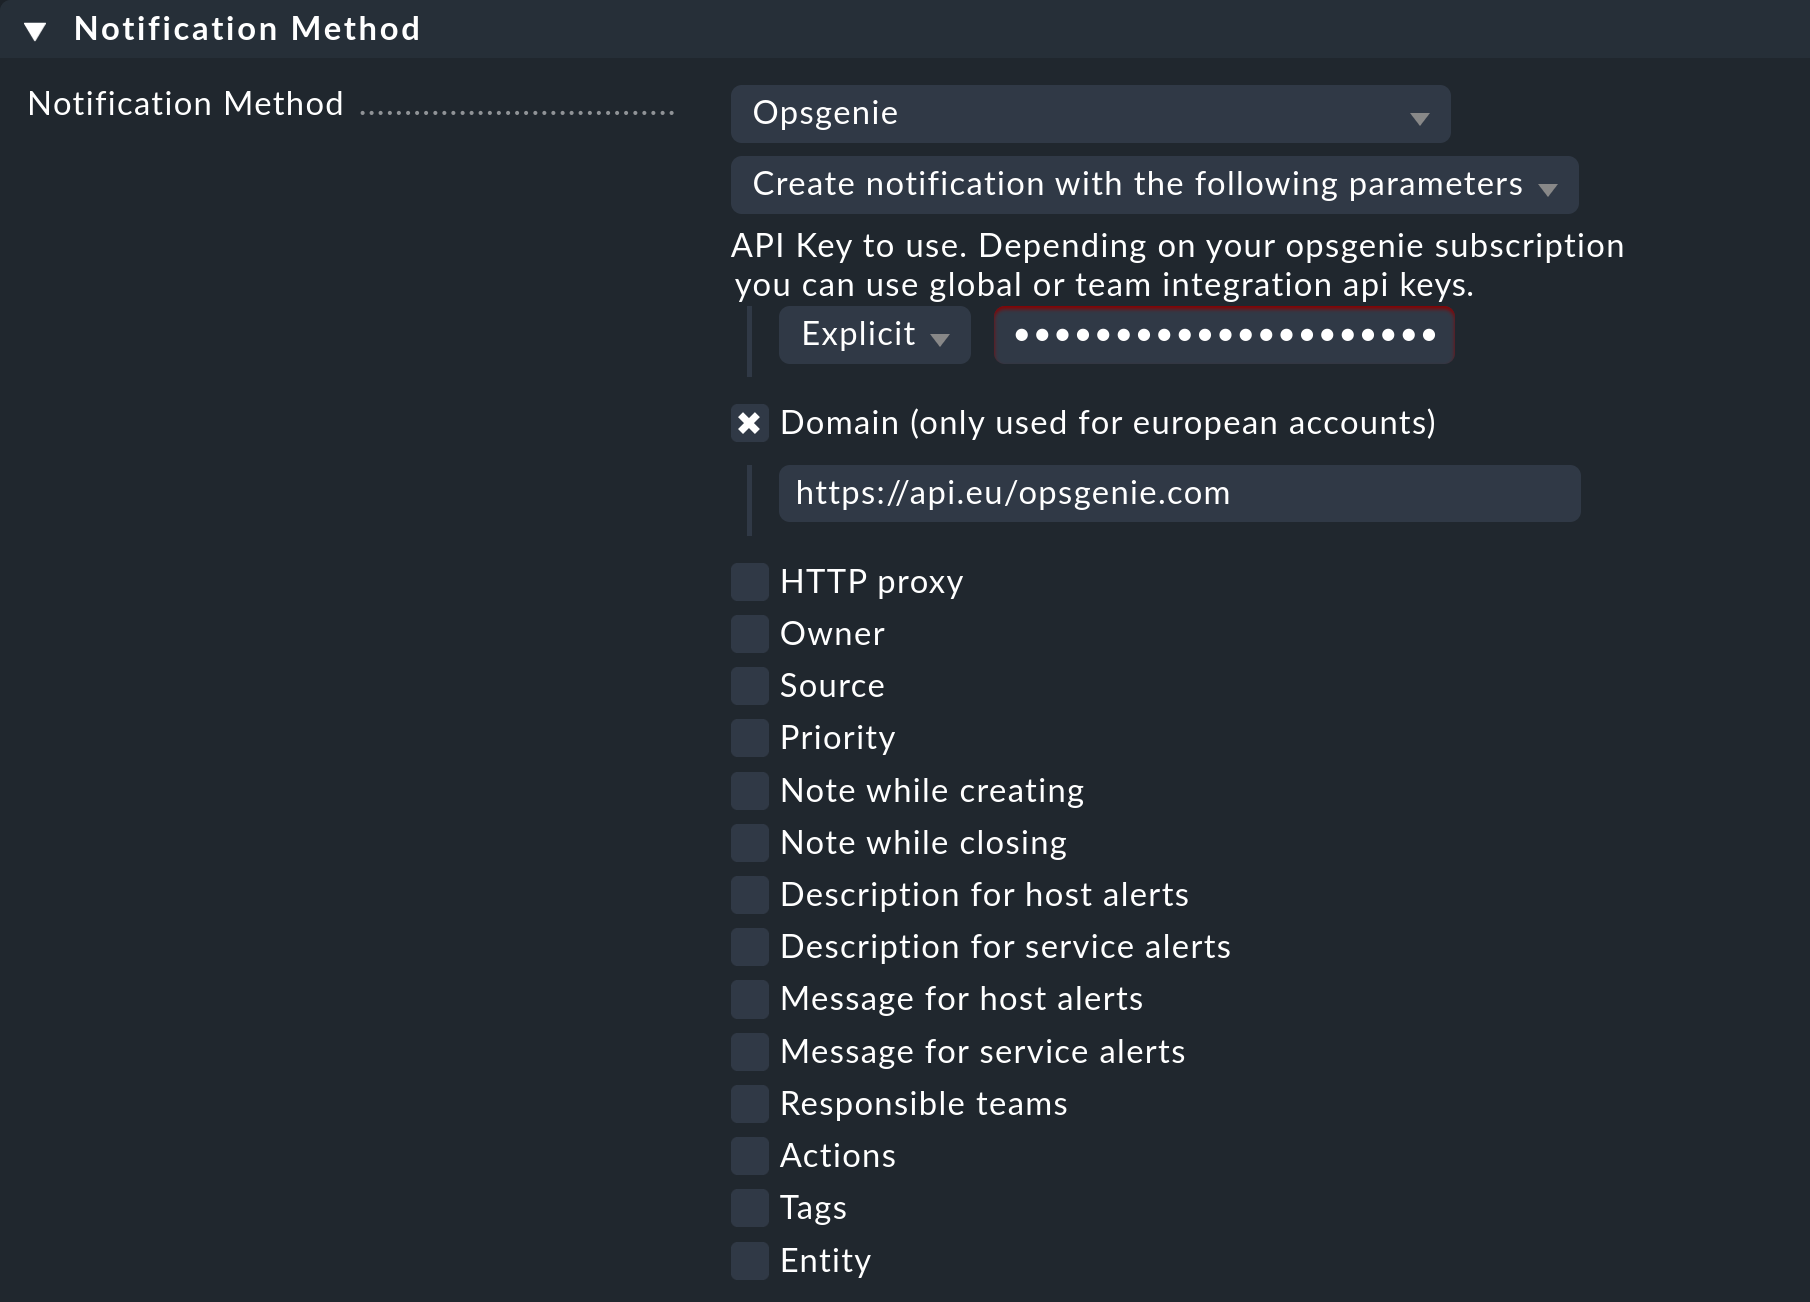
You have already learned how to set up Checkmk notifications in general in the article about notifications. For the connection it is now sufficient to specify the two copied data in Checkmk:
For the Notification Method choose Opsgenie.
Enter the copied key in API Key to use.
Activate — as an EU user — the option Domain, and paste the copied URL there.

For testing you can use the Fake check results command and set for example a host to DOWN. The Custom notification command, on the other hand, does not generate a notification in Opsgenie at this point.
The configuration of the Opsgenie notification method provides you with all kinds of additional options, especially for enriching and changing the default contents of the notifications. In addition, you can use the Responsible teams item to specify the Opsgenie team if you have not specifically integrated for one team as described here, but for the entire Opsgenie account — which is only possible with certain subscriptions.
