The incident management platform Splunk On-Call handles the distribution of messages from dozens of different sources, which can be selected as integrations directly in the web interface. A generic REST API back-end is available for Checkmk.
This is a machine translation based on the English version of the article. It might or might not have already been subject to text preparation. If you find errors, please file a GitHub issue that states the paragraph that has to be improved. |
インシデント管理プラットフォームSplunk On-Callは、数十もの異なるソースからのメッセージの配信をハンドルします。 これらのソースは、web インターフェイスで直接統合として選択することができます。 Checkmk には、汎用 REST API バックエンドが用意されています。
1. Splunk On-Call の設定
Checkmk からの通知を明示的に有効にする必要はありません。REST API エンドポイントのアドレスのみを設定してください。
Splunk On-Call の [Integrations] で、[REST Generic ] 項目を呼び出します。
表示された REST API エンドポイント URL をコピーします。
2. Checkmk の設定
通知に関する記事で、Checkmk 通知の一般的な設定方法についてはすでに説明しました。
Checkmk では、上記でコピーした URL を指定するだけで十分です。
Splunk On-Call 用に新しいパラメーターを作成します。Setup > Events > Notifications > Parameters for notification methods > Parameters for Splunk On-Call > Add parameter.
-
Splunk On-Call REST endpoint にコピーした URL を入力します:
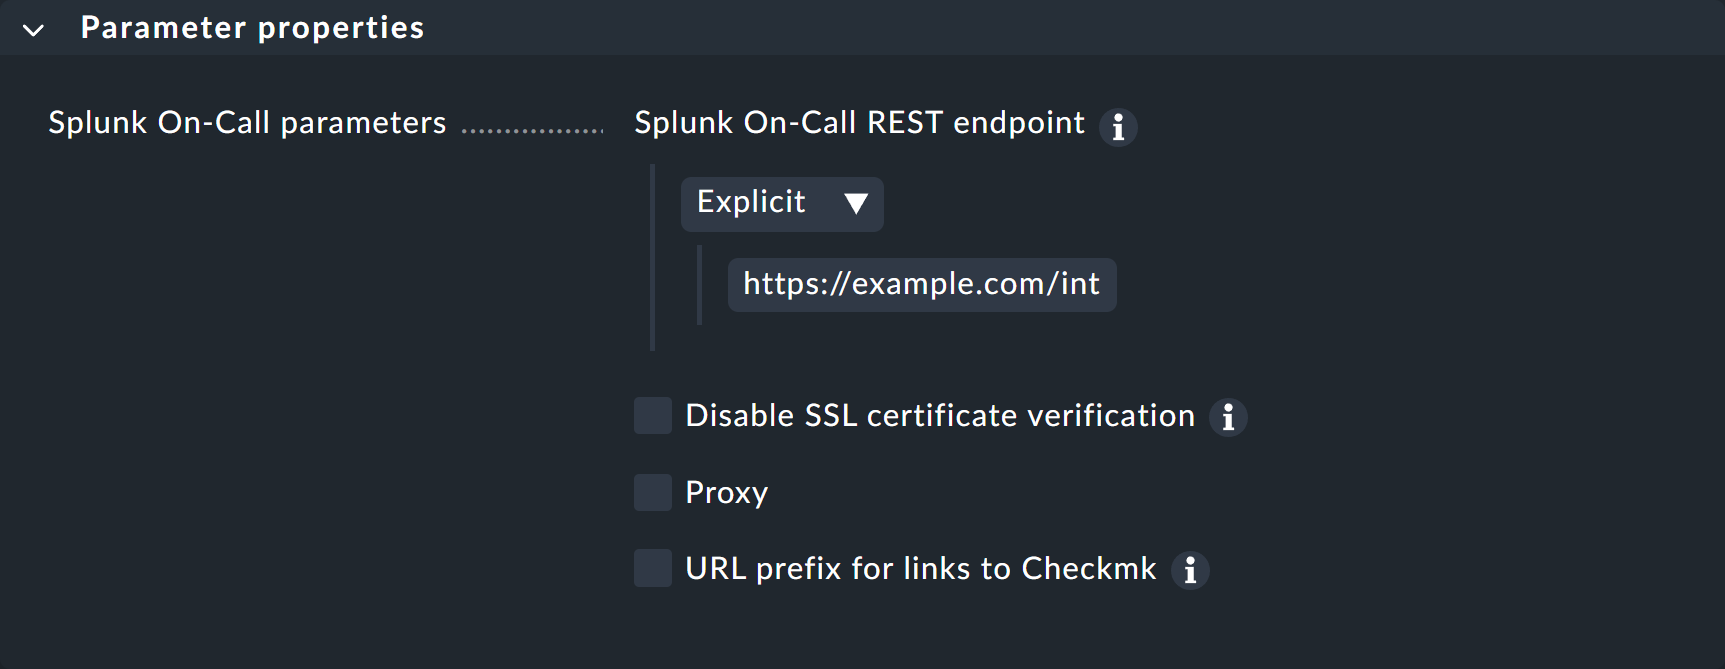
ここに URL を直接入力する代わりに、パスワードストアから読み込むこともできます(事前にパスワードストアに保存している場合)。
オプションで、通知内の Checkmk GUI のリンクを制御するための URL プレフィックスを指定することもできます。
新しい通知方法をテストする方法については、通知ルールに関する記事をご覧ください。