The PagerDuty incident management platform can receive messages from a wide variety of sources and process them further — for example by filtering, sending notifications or initiating escalations. Notifications from Checkmk can be forwarded to the platform via a key.
This is a machine translation based on the English version of the article. It might or might not have already been subject to text preparation. If you find errors, please file a GitHub issue that states the paragraph that has to be improved. |
PagerDutyインシデント管理プラットフォームは、さまざまなソースからのメッセージを受信し、フィルタリング、通知の送信、エスカレーションの開始など、さらに処理することができます。 Checkmk からの通知は、キーを介してプラットフォームに転送することができます。
1. PagerDuty の設定
PagerDuty は、Checkmk を含む多くの人気ツールとの統合機能を提供しています。 必要なのは、PagerDuty で次のように作成する統合キーだけです。
新しいサービスを作成するか、既存のサービスを開きます。
対応するサービスで、[Integrations ] タブから新しい統合を作成します。
任意の名前を割り当て、Integration Type には「Check_MK 」を選択します。
作成した「Integration Key 」をコピーします。
2. Checkmk の設定
通知に関する記事で、Checkmk 通知の一般的な設定方法についてはすでに説明しました。
Checkmk では、上記でコピーしたキーを指定するだけで十分です。
PagerDuty用の新しいパラメーターを作成します。Setup > Events > Notifications > Parameters for notification methods > Parameters for PagerDuty > Add parameter.
-
PagerDuty Service Integration Key にコピーしたキーを入力します:
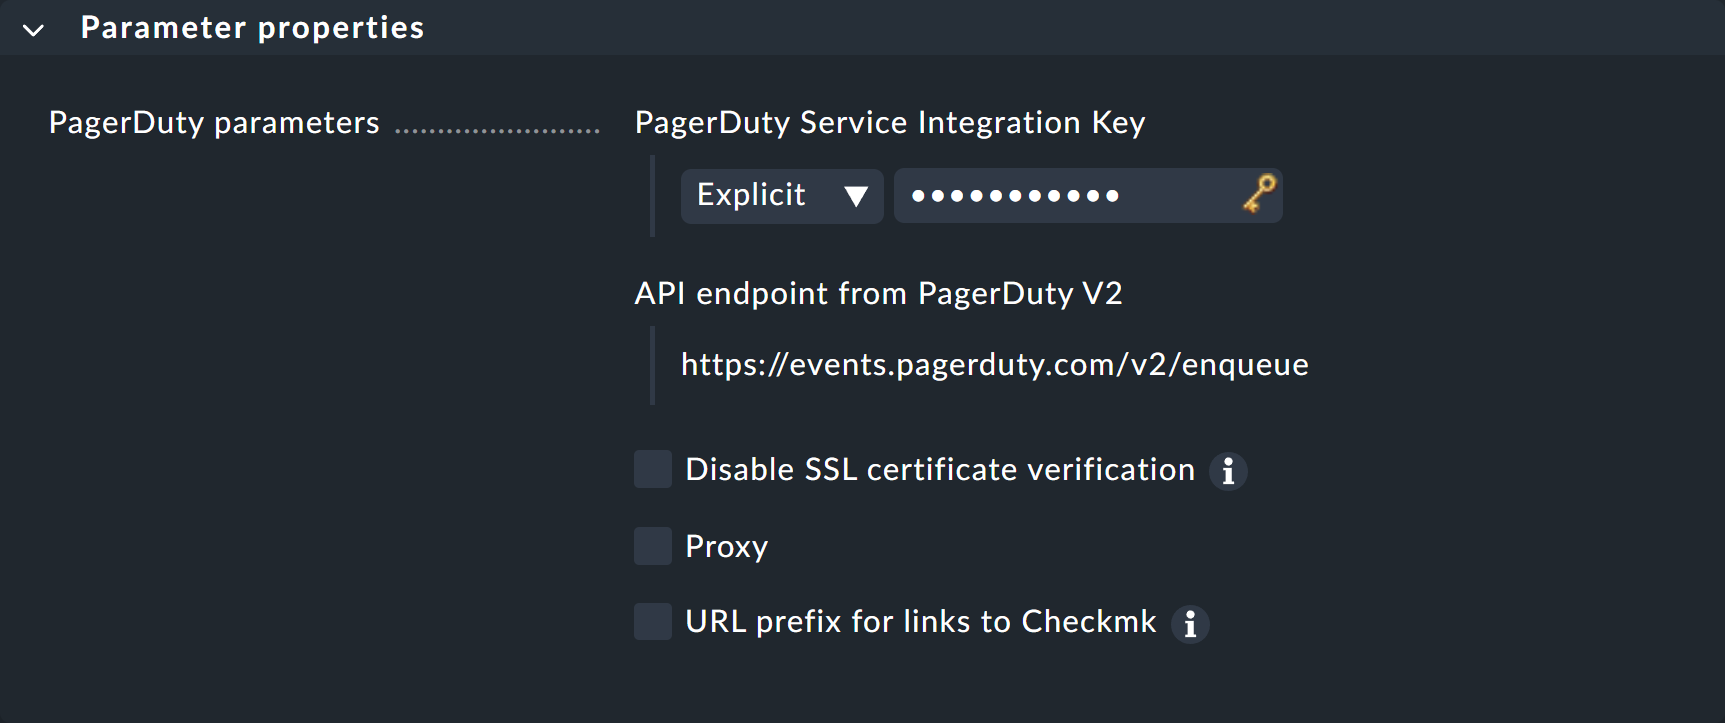
ここでキーを直接入力する代わりに、パスワードストアから読み込むこともできます(事前にパスワードストアに保存している場合)。
生成された通知のフィルタリングは、Checkmk または PagerDuty の [Event Rules] で実装できます。 オプションで、PagerDuty 接続を独自の Checkmk ユーザーアカウントに切り替えることもできます。 ログインを使用不能にした標準ユーザーを作成し、個人用の通知ルールを作成してください。
新しい通知方法をテストする方法については、通知ルールに関する記事をご覧ください。